Accepting Your Initial Callsign Certificate
LoTW requires that you accept your Initial Callsign Certificate using the same computer from which you generated the request for your Initial Callsign Certificate.
After requesting your initial Callsign Certificate, you should receive an email message from the ARRL with an attached file named theCallsign.tq6 (for example, CT2IRY.tq6); be sure to check your email client's "Spam" and "Junk". folders. If this email message does not arrive within 3 business days of sending your request, please send an email message to lotw-help@arrl.org for assistance. DO NOT create and send another Callsign Certificate request without being directed to do so by LoTW staff.
When the email message with your .tq6 file attached arrives from the ARRL,
| 1. | Direct your email application to open the email message. |
| 1.a | The attached file contains your Initial Callsign Certificate -- save it into the folder that you created previously.
Note: if you cannot save an email file attachment, then i. log in to your LoTW Web Account ii. select the Your Account tab iii. in the Logbook Web Account Menu on the left, click the Your Certificates entry iv. use the Accept a pending Callsign Certificate option to download the file |
||
| 1.b | The message contains your LoTW Account Username and Password; be sure to record these, as they enable you to view your uploaded QSOs and LoTW-generated confirmations via https://lotw.arrl.org/lotwuser/default |
| 2. | To proceed, you must be on the same computer that you made the request on originally. |
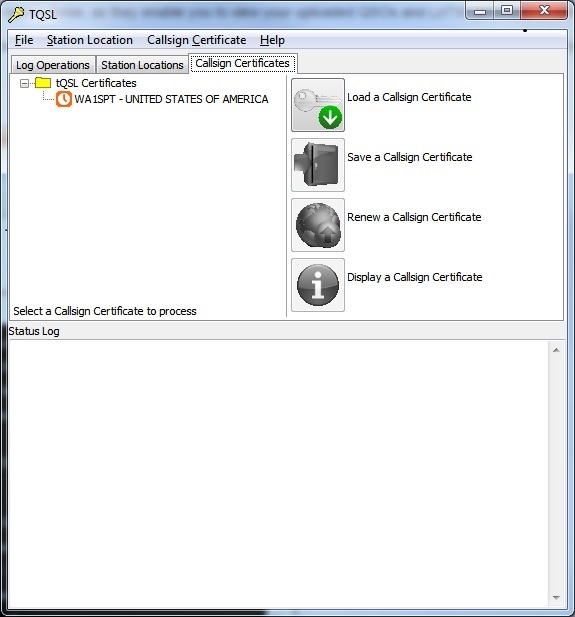
| 3. | Start TQSL and select the Callsign Certificates tab: |
 |
|
| 3.a | Click the Load a Callsign Certificate button; the Select Certificate File dialog will appear | |
| 3.b | In the Select Certificate File dialog, |
| 3.b.1. | Set the Files of type selector (on OS X, set the Enable selector) to Certificate Request response files (*.tq6) |
||
| 3.b.2. | Select the file YourCallsign.tq6 in the folder that you saved it in.
Note: if in step 1.a above you used the Accept a pending Callsign Certificate option, then select the file |
||
| 3.b.3. | Click the Open button; a small Install Certificate dialog will appear. |
| 3.c | In the Install Certificate dialog, you'll be asked if its okay to install a trusted root certificate; click the Yes button | |
| 3.d | In the Load Certificate File dialog, click the Finish button | |
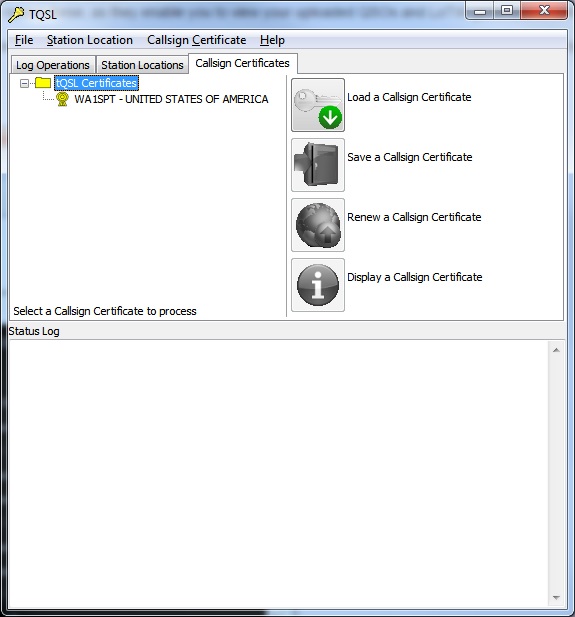
| 3.e | The Callsign Certificates tab will show an entry for your Callsign Certificate, with a yellow medal valid icon:  . . |
|
 |
||
| 3.f | To protect your new Callsign Certificate, direct TQSL to create a Backup File. | |
| 3.g | You can terminate TQSL by selecting its File menu's Exit command (on OS X, by selecting the Application menu's Quit tqsl command). | |
| 4. | If you have TQSL installed on multiple computers, then perform the following steps on each such computer: |
| 4.a | Obtain a copy of the Backup File you created in step 3.f (via your home network, or by using a thumb drive) | |
| 4.b | Start TQSL, and direct it to Restore from the backup file you obtained in step 4.a; this will update all Callsign Certificates, Station Locations, and Preferences on this computer to match those on the computer you used to accept the Callsign Certificate in step 3 | |
| 5. | Now that you have a Callsign Certificate for your current station callsign, you can request additional Callsign Certificates for any other station callsigns with which you have made QSOs. |
A table illustrating the icons used by Windows to designate the above-mentioned LoTW file types in Windows Explorer is provided here.


